A Behind-the-Scenes Look: The Patreon Stop Motion Video
Hey patrons,
First of all, thank you so much for becoming a patron. More To That officially went live on March 21st of this year, and it’s amazing to me that you would want to fiscally support something that’s only been around for three months. I really, really appreciate it.
When it came to this Patreon campaign, I didn’t want to simply throw up some text, add in some random rewards, post up a link to the page on the site, and call it a day. My whole goal with More To That is to create posts that are carefully thought out, well-outlined, and meticulously crafted so it gives the reader a sense of fluidity and fun as they read them. This means that a post that takes 15 minutes to read can take me a super long time to do, but hey, since you’re here with me in this patron-only feed, there’s something you like about that, right?
So when I decided to set up a Patreon page, I wanted to treat it like a blog post in itself. It was going to be a project, and not just something for me to cross off the list of to-do’s. When I choose a topic to write about, I try to think of the best way to present it so that it’s digestible and easy to navigate through. Since I wasn’t going to do a whole blog post about the history of patronage and why you should support More To That specifically, I knew that it wasn’t going to be the writing that told the story.
Instead, it would be the other half: the visual element of the blog.
My wonderful fiancee is a digital media teacher here in Los Angeles, and stop motion is one of the things she teaches at her school. I remember sitting in one of her classes when she was teaching it to her elementary school kids, and I remember the “ooo”s and “ahh”s I heard when she showed a character moving from one side of the screen to another through a series of pictures. It was childlike wonderment at its finest.
When I think of the illustrations on More To That, they provoke a sense of childlike fun and curiosity in me, so naturally, I knew that stop motion animation would be the medium I wanted for the introductory Patreon video. After all, all I have to do is just string along a series of pictures together, right?
Here’s a behind-the-scenes look at how naive I was.
(Step 1) Create all the characters
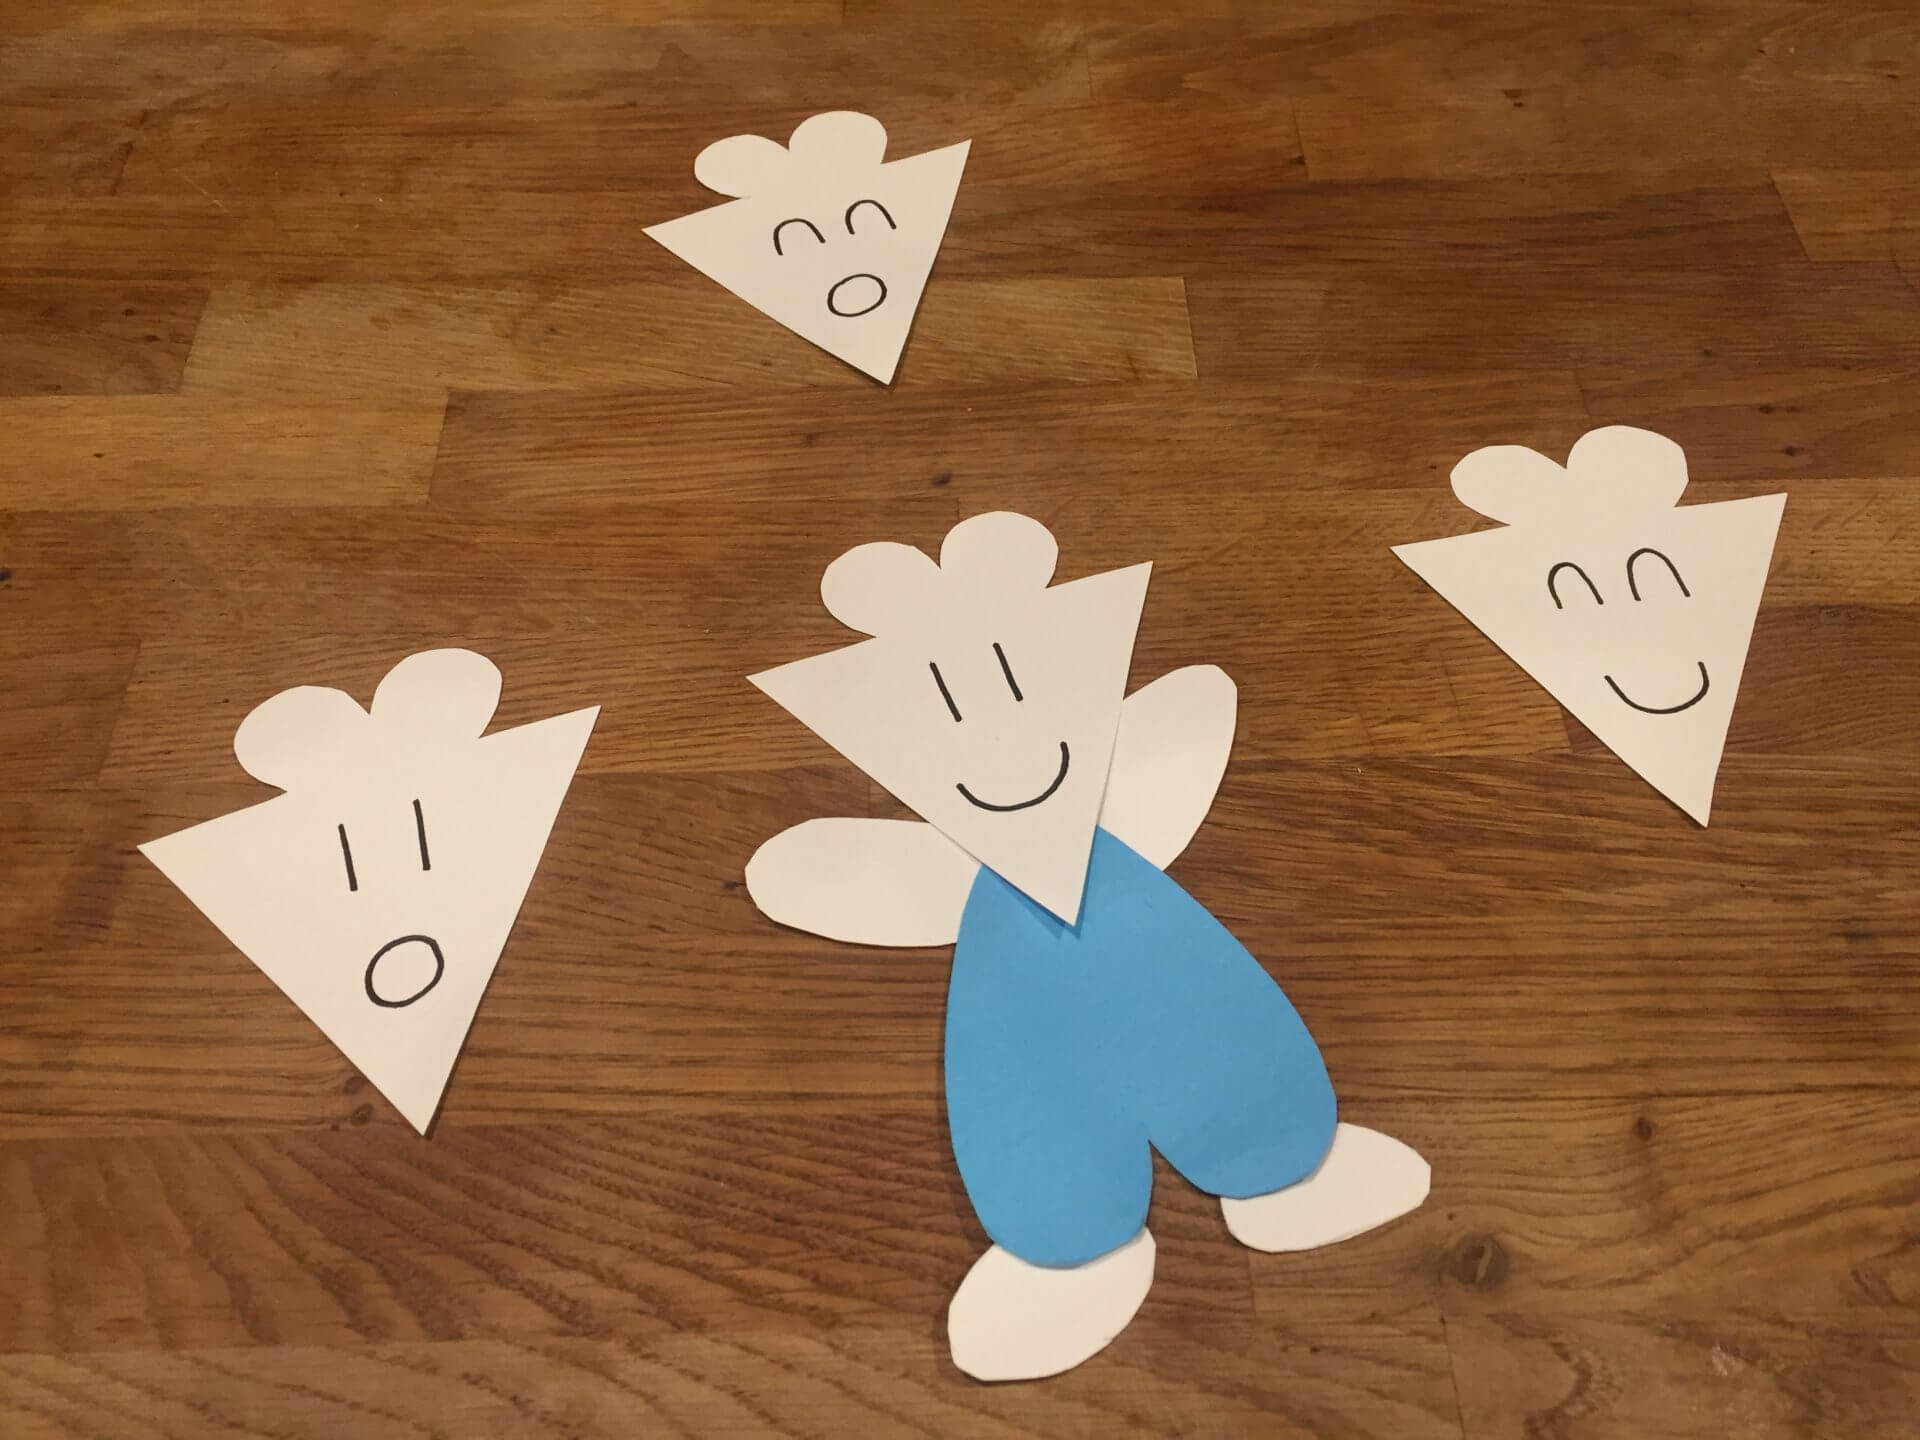
Okay, this part was a lot of fun though. I had a vague idea of which characters I wanted in the video, so I got a bunch of construction paper together and fixed them up! The one thing I had to think about was how I wanted the characters to move in the video, so I would have to create different versions of the character. For example, our triangle-headed protagonist would have various facial expressions throughout it, so I created some different faces:
There were some characters that took quite a long time for me to do, like this guy (the individual hairs took some time):

Also, in addition to the characters, I had to create some of the “props”, like the rewards, Patreon parachute, and so forth as well.
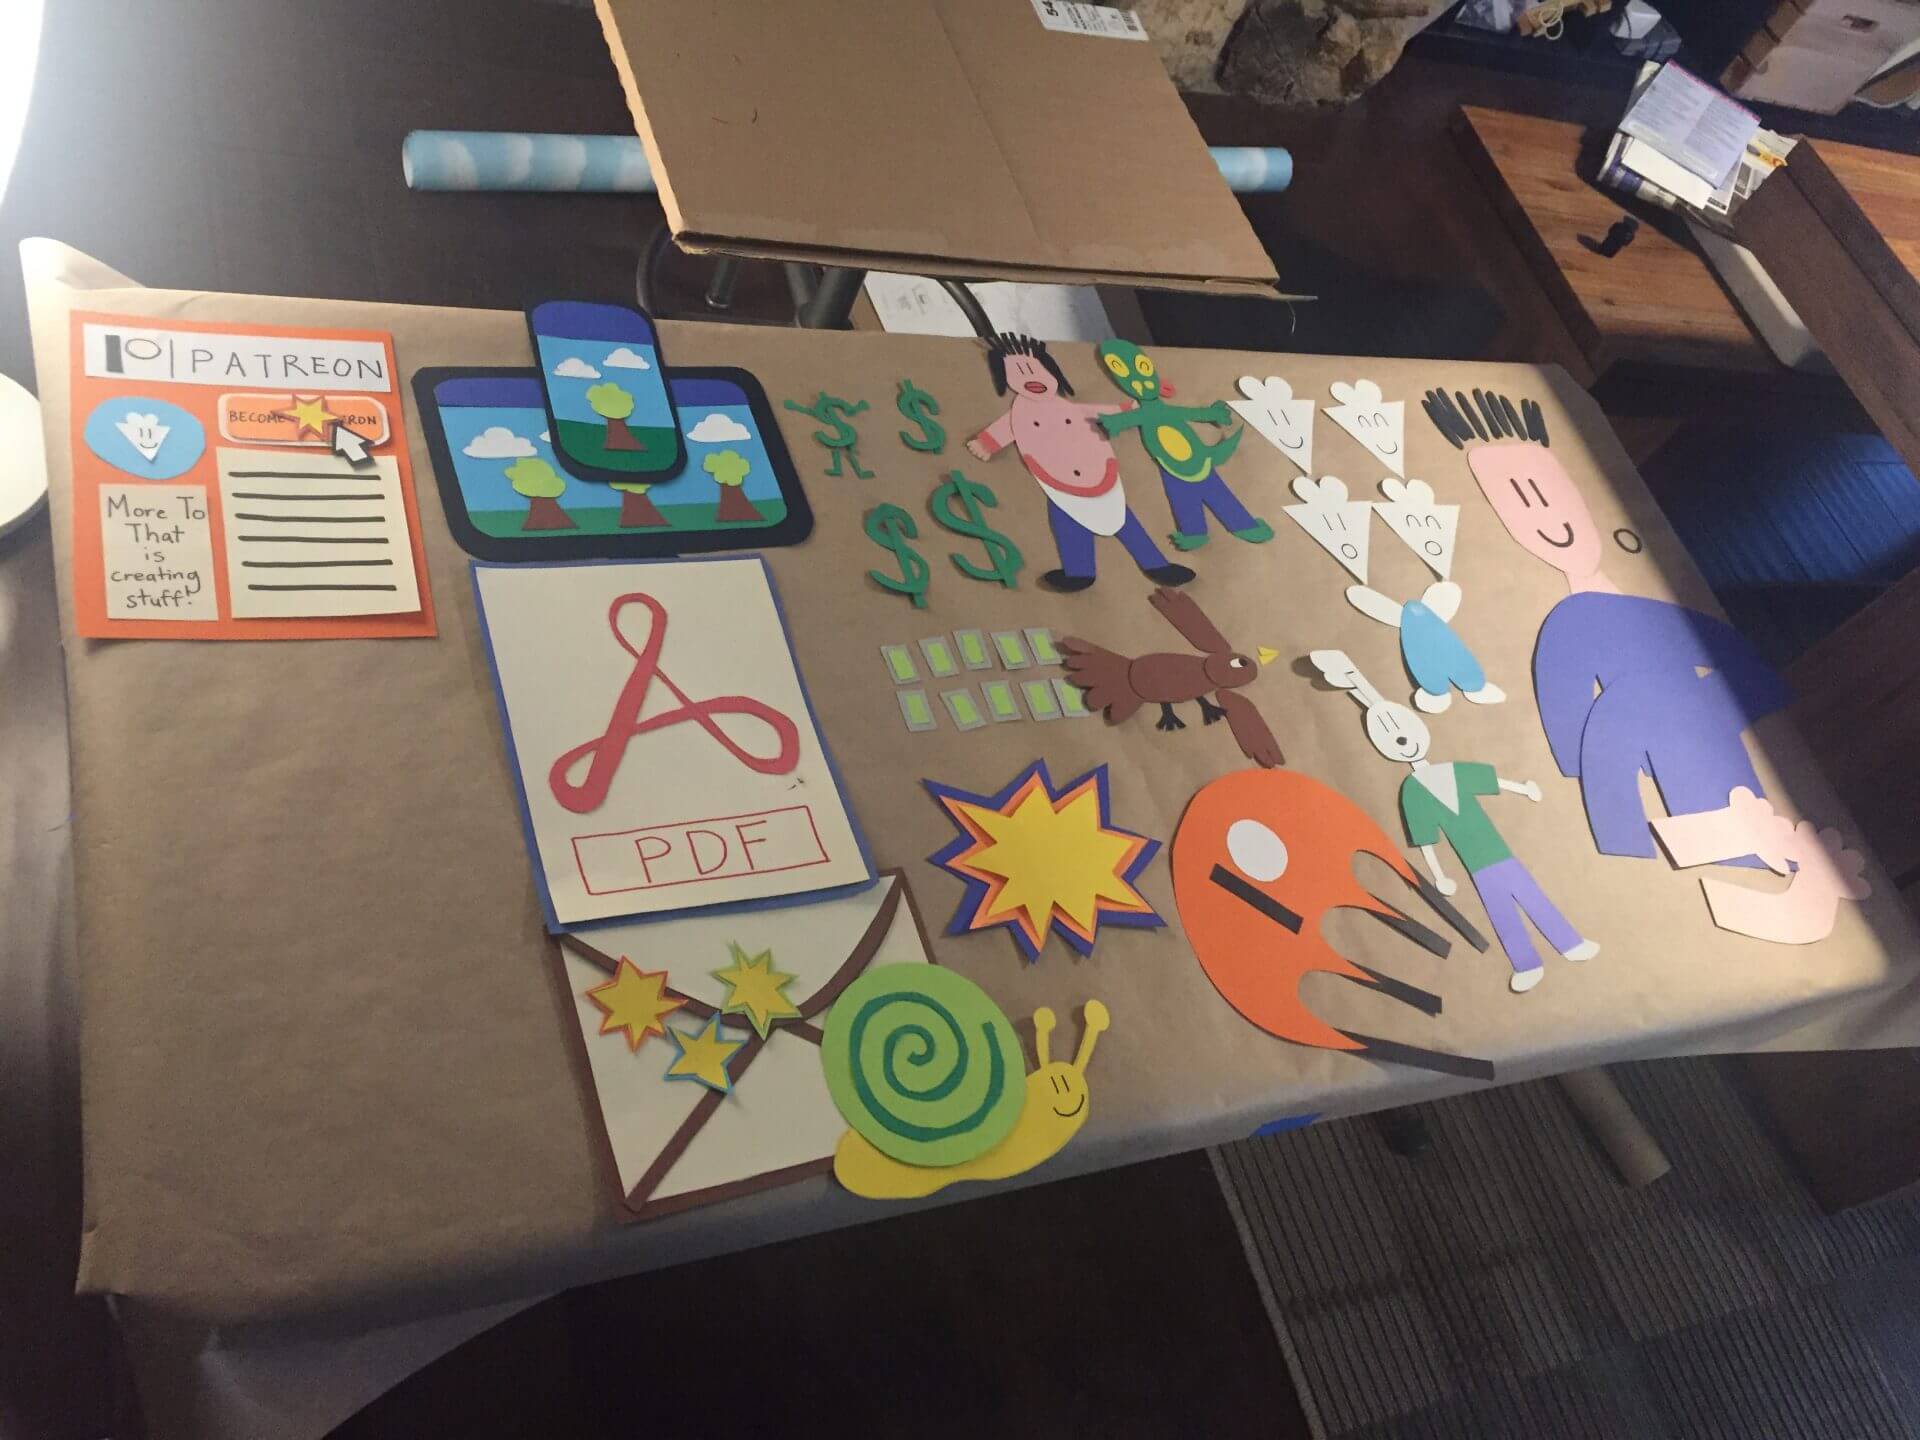
After about 3 days of cutting, gluing, re-cutting, re-gluing, re-re-cutting, and so on, I had this pile of resulting stuff:
That pile looked great, but then I realized that the narrative of the video was a bit loosely constructed in my mind. So naturally, I felt like I needed to draw it all out.
(Step 2) Storyboarding
Since my narrative wasn’t going to resemble that of an M. Night Shyamalan film with some crappy twist at the end, it didn’t matter much that this was Step #2. But for people that are creating more robust animation videos with complex storylines, this should seriously be Step #1.
My fiancee had a lot of storyboarding templates from her school, so she graciously provided me with a stack of them. It may sound a little silly that my video required any storyboarding at all, but it really helped me get a better idea of how to shoot everything when all was said and done.
Here’s an example of one of the pages:

(Step 3) Setting up the right environment
The thing with stop motion is that you want to ensure that the lighting stays consistent throughout the process. If you’re outside shooting a stop motion video, you’d ideally want to do it all within the same time of day. Since I was going to film indoors, I just needed to make sure that the curtains were drawn so it’s dark inside as much as possible. Additionally, my fiancee brought these huge lights from her school to help with it. I also look really important with these all around me, which was kind of cool…. until I had to stand under the warmth of them for hours on end, which was not that cool.

(Step 4) Finally… film!
lt took about five days of continuous preparation (Steps #1-3) before getting to the part where I actually got to film stuff. At this point, I viscerally understood that there was more to this than “taking a bunch of pictures.” My stop motion innocence was now annihilated.
I used a program called Dragonframe to create the stop motion sequences. It’s a pretty intuitive program – the interface is easy to navigate, and you’ll be set up and ready to go within minutes.
In order to create fluidity in your piece, you want to take many photos of small, incremental movements in each of the things in frame, so putting together even 3 seconds of animation can take a lot of photos.
For example, this shot of the rewards coming down took 135 pictures.
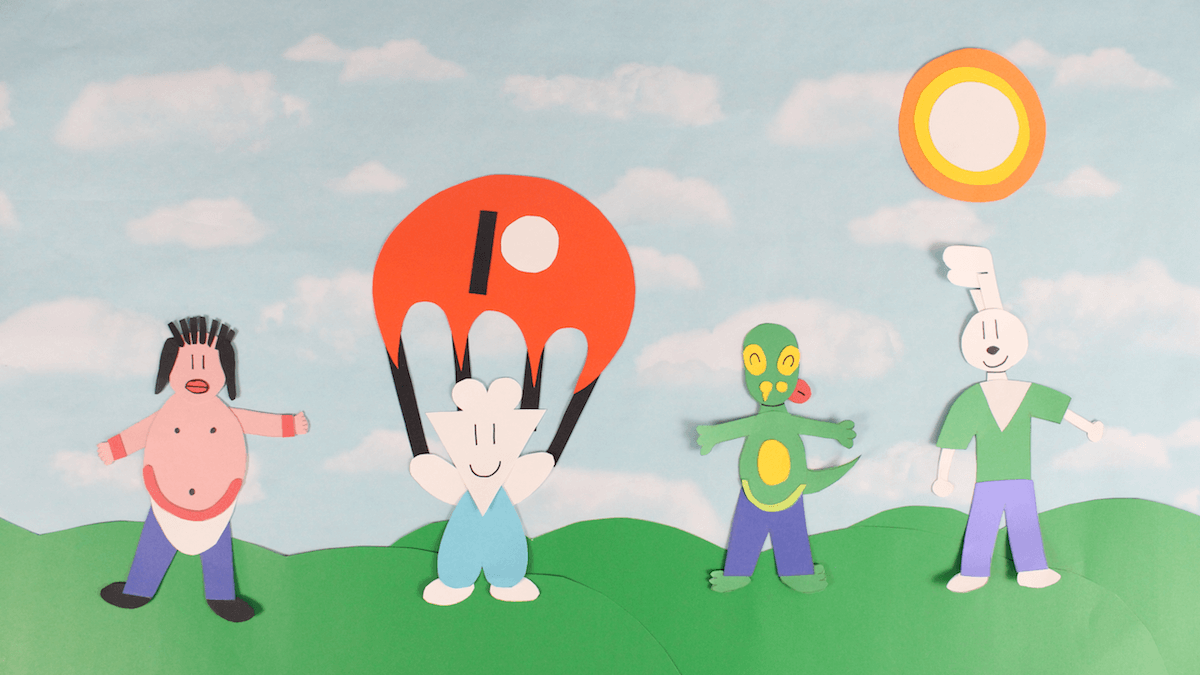
Okay, you know this little sequence here?
That took a LONG… ASS… TIME. It looks pretty easy to do, but I had to fiddle around with the best way to create the bubble, have the characters all set up in frame, and make sure I had enough paper to cover up the whole frame as well. Having the sky-themed paper really helped though, as I didn’t have to create the sky/cloud background separately.
I spent about 4 days filming everything, and this is where I really saw the importance of storyboarding. It really does make everything move with a sense of fluidity, and you can kind of go into auto-pilot mode during this stage. If you know what each frame is going to look like, you just go with the motions, and make small adjustments when necessary.

(Step 5) Create the script and record myself talking
I wanted the script to be under 2 minutes, so it took some time to write, edit, and cut everything down into something concise.
Then of course, I had to record myself.
Needless to say, there are many frustrated takes on my computer which you will never hear.
(Step 6) Edit and Bring Stuff Together
So after you’re done with filming stuff, you can export each scene out (it’s called a “take” in Dragonframe) and throw everything in a folder to get ready for the editing process.
My fiancee graciously gave me a brief primer on Adobe Premiere Pro, which I ended up using to edit the video. I took all the individual puzzle pieces I had (in the form of the various takes), and then strung them all together with my vocals on top of them to try and make it work.
Here’s the issue though. With stop motion, you just don’t know how long each take is really going to be, and sometimes you need things to speed up and slow down depending on what I’m saying at that given moment. For example, the part where I’m introducing myself (waving hi) can come in at a much slower rate than a take where a clock’s hands are spinning rapidly.
Okay. If you’re using Adobe Premiere Pro, you need to use the RATE TOOL to accomplish this. Holy crap, it’s amazing. After I found out about it through some tutorial on YouTube, my eyes lit up with the vigor of a billion suns. This tool allows you to time stretch various video clips by simply dragging them to the point you want it to go up to. If this doesn’t make sense to you, it’s okay – it doesn’t really need to. All you need to know is that it’s amazing.
(Step 7) Music
So originally, I was just going to use a (freely licensed) song I would find online to put over the video and call it a day.
But when I asked a very talented musician buddy of mine if he knew of any good resources where I can find music, I didn’t think that he would respond by saying he would just create a song for the Patreon campaign.
Uh… Hell yeah!
His name is Kenny Dickenson, and he is the man behind the awesome music in the video. Check his stuff out – he’s really, really good.
(Step 8) Adding sound effects AKA the Step of Doom
Okay. You know that feeling you get when you’re on the last few steps before completing a project? That “I’m so close yet so far” feeling? That feeling where you’re asking yourself “really, why the hell am I doing this?” when you know damn well that you’ll be happy once you’re finally at the finish line?
The raw force of that emotion slapped me repeatedly in my left and right ass cheeks as I went through a ridiculous number of files and YouTube clips to find sliding whistles, whooshes, bird chirps, clock ticks, Yoshi grunts, and all the other little trinkets you hear in that video.
I almost said “Screw it” after trying to find a suitable swish effect for my waving hand, but in the end, I trucked along and finally got it done.
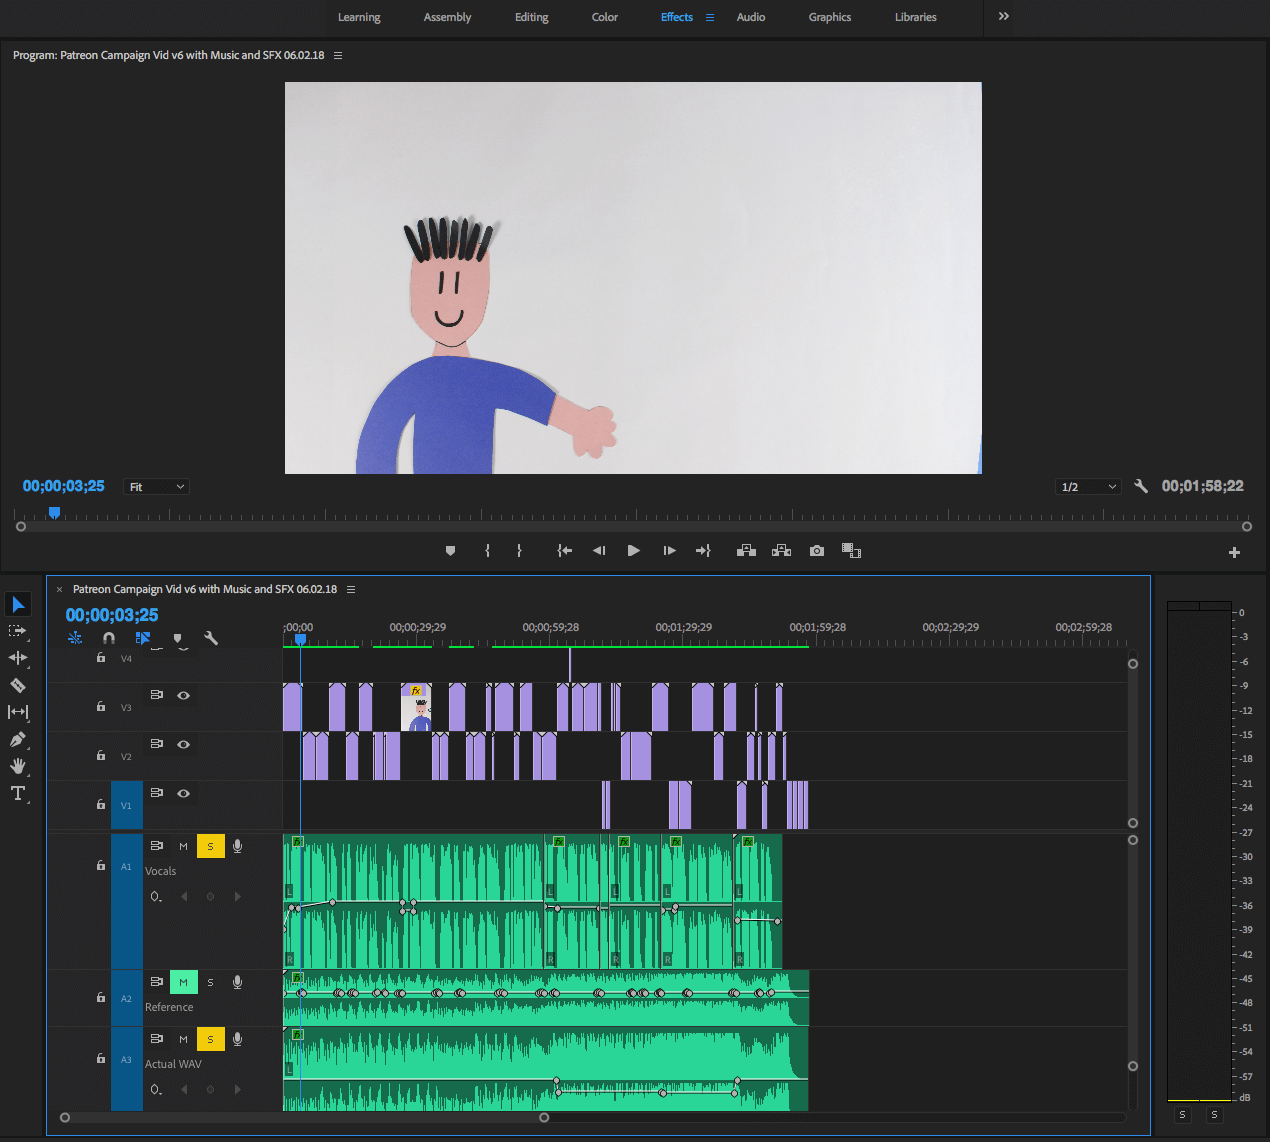
In case you’re interested, this screenshot from Premiere Pro is the final sequence in its edited, layered, and colorful form:
(Step 9) Export the video
This part was really fun. I just exported it. Nothing more, nothing less.
(Step 10) Be done!
This part was even more fun.
—————————————-
And there you have it! All in all, it took about 3 weeks to do, and I came out of it feeling like I immersed myself in a whole new artistic realm for a small duration of time. I was so stoked to have actually created a stop motion animation video from the ground-up!
… But then I thought about full-length, 2-hour-long stop motion animation films like Kubo, The Nightmare Before Christmas, and Isle of Dogs.
I then proceeded to feel this unique combination of wonderment, doom, and sympathy for the animators that worked on these types of movies.
And this was when I told myself that I would stick to writing and drawing.
Thanks for making this a worthwhile endeavor!
-Lawrence